03 Mar Can you autoclave your pipette? Here is what you need to know
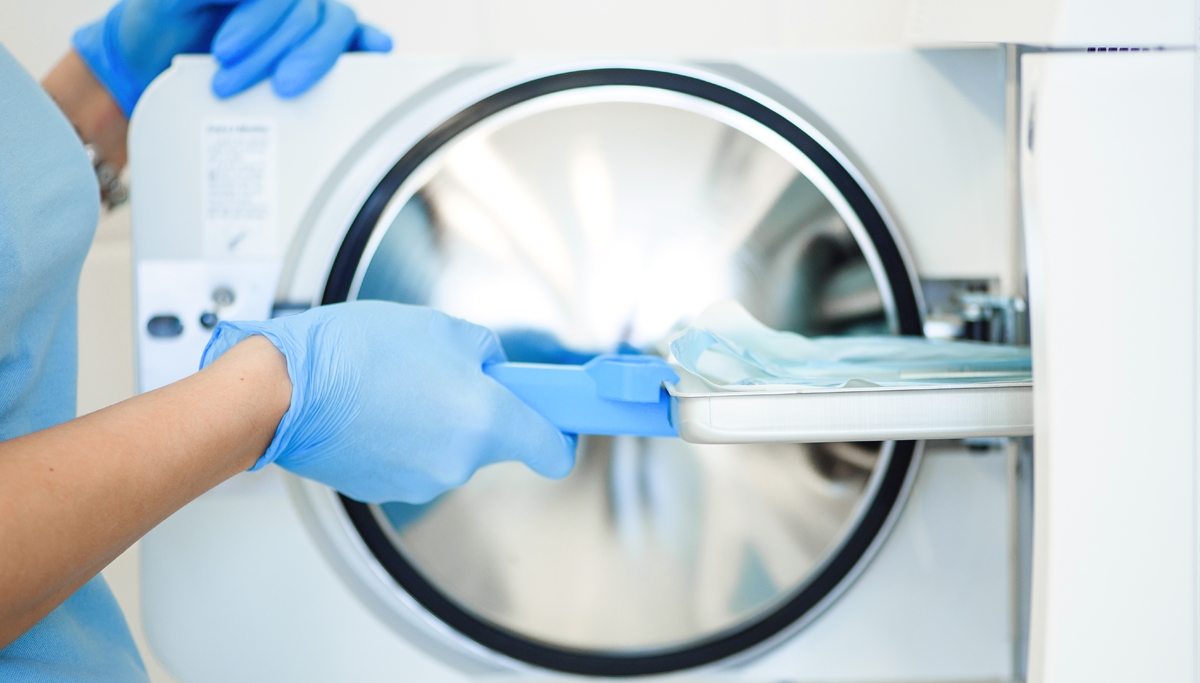
Autoclaving is a type of sterilisation, routinely performed in the laboratory aiming to inactivate any biological contamination. The process uses high-pressure cooking and is usually operated at 5-15 psi and 112°C-127°C for 10-50 min. Chances are high that at least once per day you autoclave your growth media, reagent solutions, various flasks and pipette tips. But did you know that it is also a great way to decontaminate your pipette (and other dosing instruments, for that matter), especially if you work with infectious agents?
Why would I autoclave my pipette?
There might be several reasons, for example:
- You “inherited” an instrument and do not know how it was used in the past – to minimize risks of contamination and avoid a headache later. It might be a good idea to clean the instrument thoroughly and autoclave it before getting down to work.
- You work with infectious organisms and need to be extra careful.
- You need absolute cleanliness for microbiology or cell culture assays.
- You have to send your pipette for service and/or calibration – it is a must to decontaminate your instrument prior to doing so.
How do I know if I can autoclave my pipette?
Operating Instructions or the manufacturer’s website are usually the best places to look for such information (as well as many other useful information and tips). Not all micropipettes available on the market are fully autoclavable – in some cases only the lower part can be autoclaved; others cannot be decontaminated in this way at all.
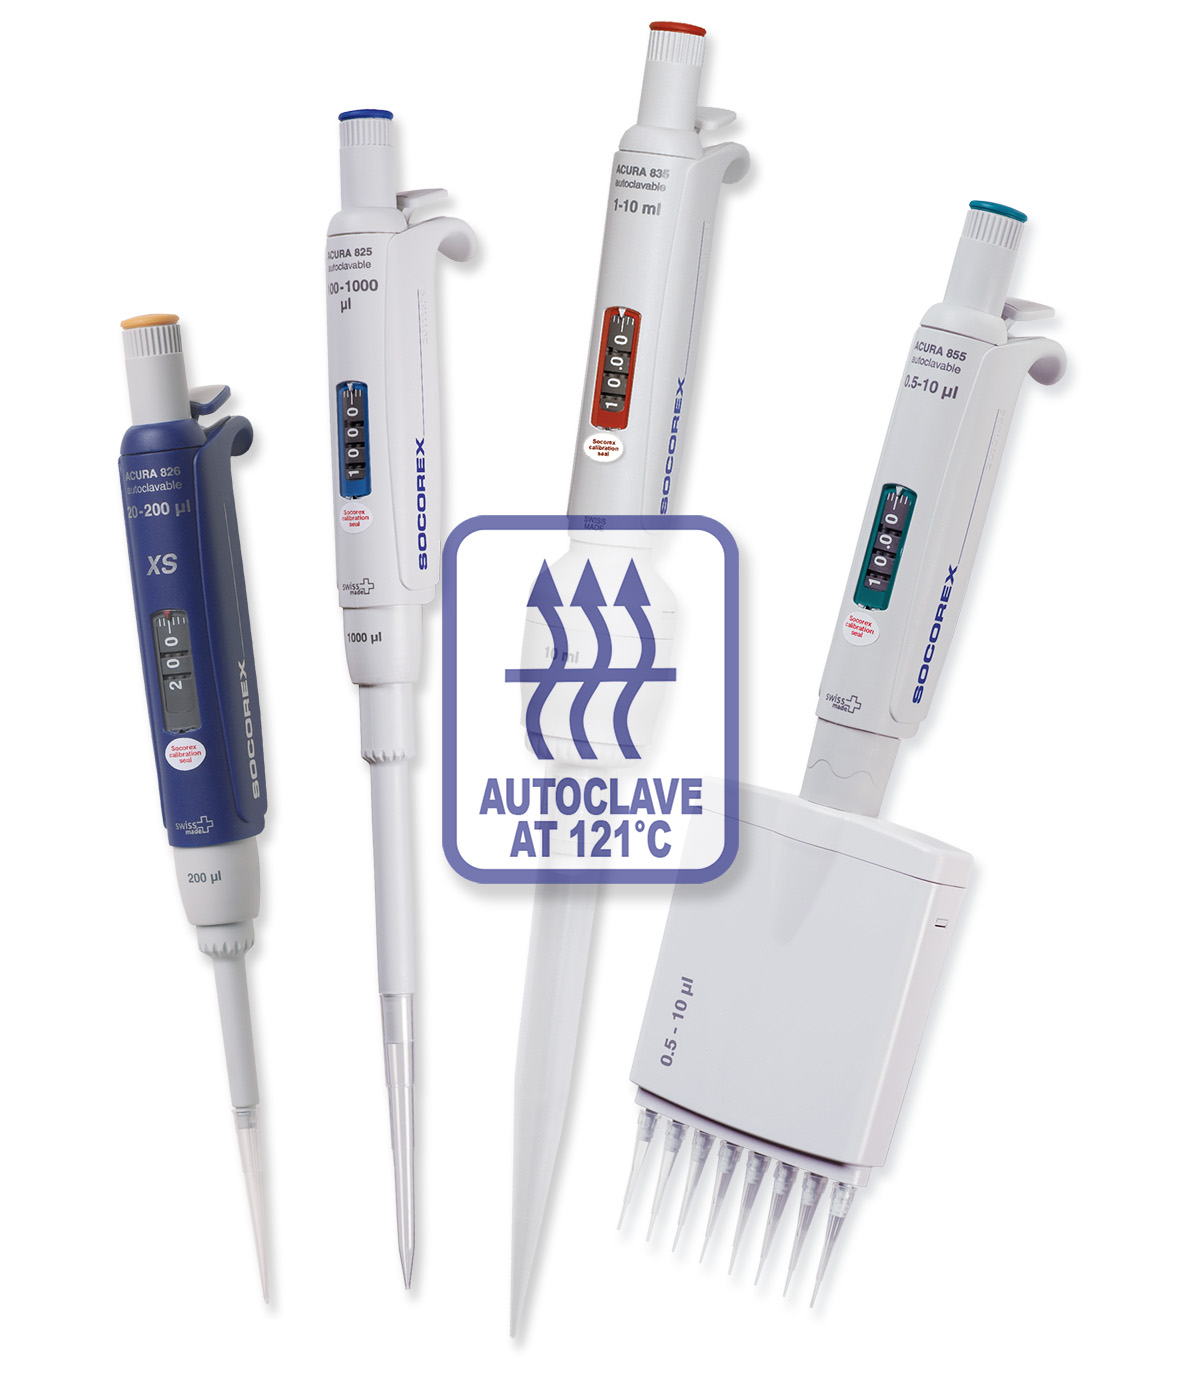
Thankfully, if you are using Socorex micropipettes, you can sleep easy. They are made of robust materials that withstand multiple rounds of autoclaving.
How to autoclave a pipette?
 Simply put the instrument in a sterilization pouch and make sure it is securely placed in a horizontal position in the autoclave rack, without touching any big metal parts. These are precautions to avoid any instrument deformation or staining. Socorex pipettes have been designed for repeated sterilisation in the autoclave at 121°C (20 minutes). After sterilisation, let the pipette dry and cool down to room temperature before using it.
We recommend checking the calibration after 50 cycles of autoclaving. However, it is good practice to regularly check the performance according to your internal SOP.
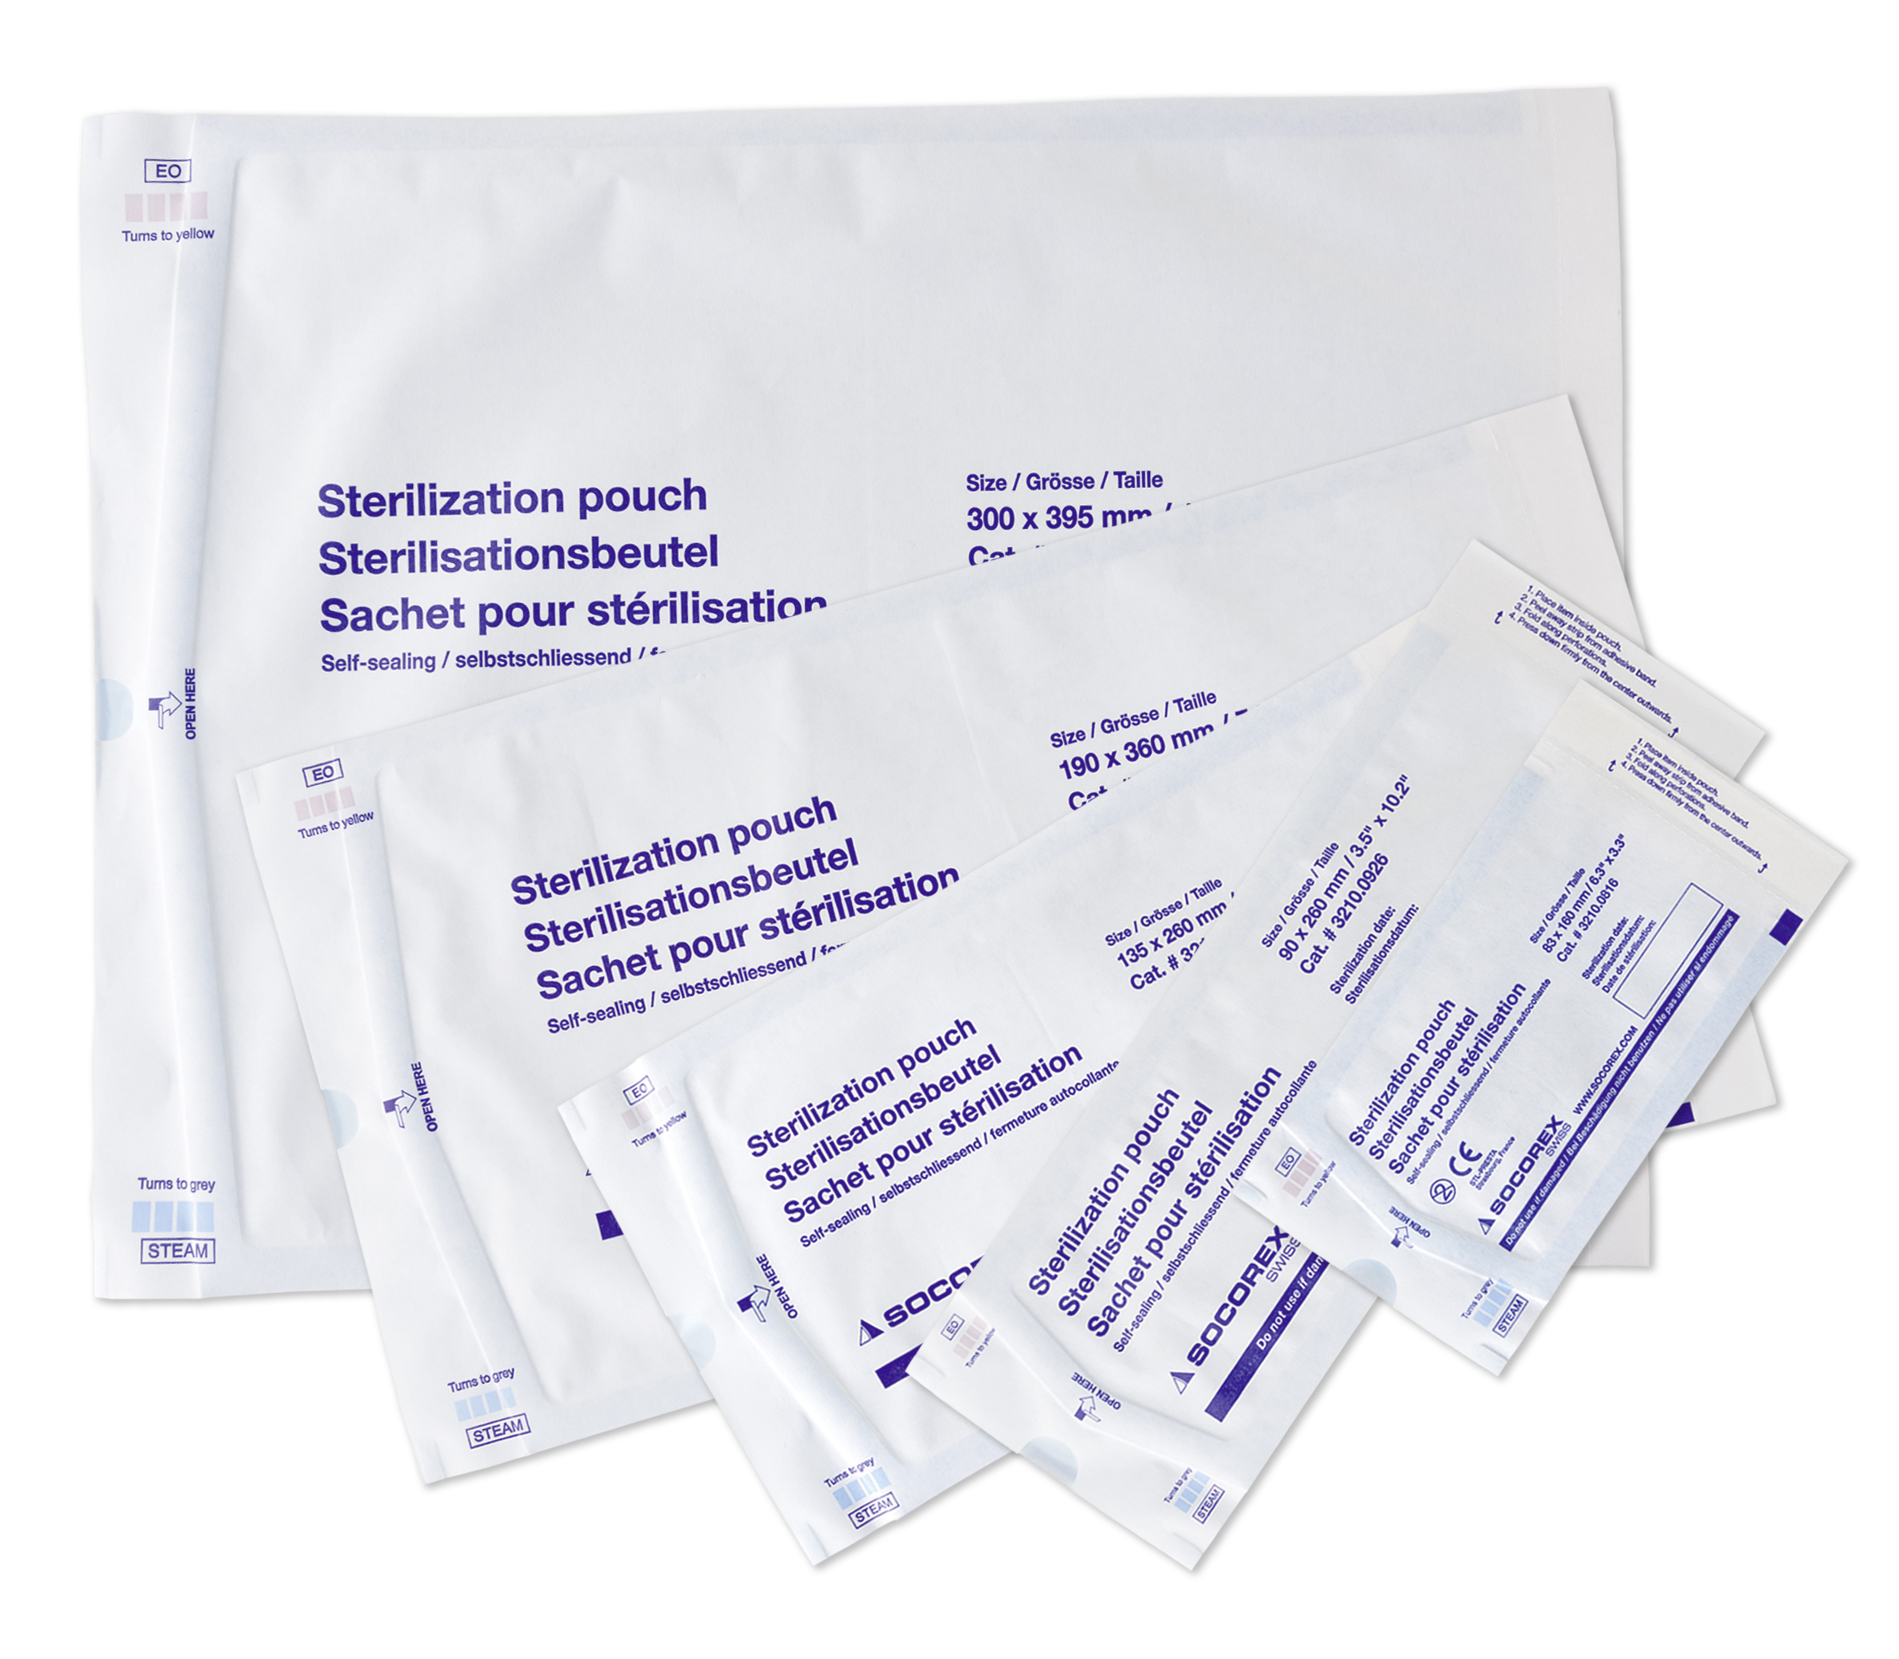
How to use a sterilization pouch? A few recommendations.
- Choose the right pouch size - the length of the item must not exceed 3/4 of the length of the pouch.
- Check the integrity of the pouch before use.
- The contents of the pouch must be clean and dry.
- Introduce the instrument into the pouch, keeping in mind that the other side of the pouch will be used for opening it.
- Close the pouch tightly. Sharp objects must be pointing in the opposite direction than the pouch opening.
- The sterilisation date must be clearly written on the pouch.
- Monitor the indicators on the pouch to assess the success of the sterilisation.
- The contents remain sterile for at least 24 months if the pouch is stored correctly in a dry place and remains intact, without tears or holes.
Happy autoclaving!
Click below to get more information on: